Showing posts with label vegetable. Show all posts

Friday, February 10, 2017

Getting Better – Tomato Cabbage Soup and Rice with Green Tea

And so I qualify as an old fart. With the move back to Riverside, I’ve been taking the train to work everyday, prying myself out of bed between 5am (early train), 6am (later train) and once, 6:30am (&*#%@\^$ I missed the train…!). This means, however, that once out of bed, I can no longer convince myself that falling back asleep is an option. This is helpful for normal days when I need to survive until 6:37pm (train is back in Riverside), not so great for sick days such as today.

Thing is, Bossman and Bosslady have been coughing around the office for 2 weeks. 2 weeks ago, I was sick with a sore throat and general misery, but the symptoms were different. I can only guess how it spread.

In any case, the past couple of weeks have been a comedy of errors, complete with packing miscalculations, missed trains and illness and injury. Things learned this past fortnight:
  • Do not try to pack and move everything you own within a single day.
  • 12-ft trucks are inadequate for the contents of a 1-bedroom apartment.
  • A single friend to help you move, no matter how dedicated (you’re awesome, and I probably owe you more Brazilian cheese bread), is probably similarly inadequate.
  • Perhaps moving the day after a particularly intense, full day of karate seminar, Instructor Training and your moving buddy’s black belt exam is not the best idea.
  • Shifting your sleep schedule several hours earlier is difficult.
  • Moving until 2am and waking up at 5am to get to work via a completely new transportation system will lead to errors in judgment.
  • Santa Ana is incredibly bike-unfriendly.
  • Sometimes, bike lanes are a ludicrous length, or lack thereof. Record goes to the one on Grand Avenue that is about 100 feet long.
  • Riding on the sidewalk, with frequent stops for pedestrians/cars pulling out of driveways/extraordinarily narrow sections due to power poles, etc. is surprisingly well-accepted. The alternative is to ride in the road, while cars blow by at 10mph above the speed limit, closer than 3 feet (illegal). See above point.
  • The bus will only be on time when you least expect it.
  • Biking in the rain and arriving to work more or less soaked is actually a lot faster than taking the bus in the wrong direction for nearly the entire length of the line. Thank you, Google Maps and GPS.
  • Karate training will come in handy when you need to sprint all the way from work to the bus stop in a mad dash with your backpack on, because the next bus will miss the late train going home.
  • Karate training will be awful when you realize that you are indeed competing this weekend, and indeed, your favorite kata (form) will be off-limits because you have torn the bottom of your right foot from wear and tear. This is a food blog; no further details provided.
  • Karate training will continue as regularly scheduled. When you go to bed, your abs will want to know why you are still using them. 
  • Karate training will result in getting home at 10pm, much improved from 11pm. The slow cooker will be your best friend. My boyfriend is the best slow cooker button-pusher in all of North America.
And with that, I present a soup that is simple, light, nourishing and very, very cheap, with a bonus of a simple, light, nourishing, cheap snack or breakfast. Do you see a theme here?


Tomato Cabbage Soup
Loosely inspired by The Wednesday Chef
Makes one fairly large pot

Ingredients
Small puddle of cooking oil
1 yellow onion
1 head green cabbage
2 14.5-oz. cans chopped tomatoes
1 bay leaf
Salt
Black pepper
Water…!

Directions

1. Peel the onion and cut into quarters. I like to cut it in half from root to stem, then turn 90° and cut again from root to stem. This lets me slice the onion into quarter-rings, which are basically small strips.


2. Wash and slice the cabbage. I repeat the onion slicing procedure with the cabbage, since they are both layered vegetables.


3. In a pot big enough to hold all the soup (no slow cooker) or a medium pan (slow cooker!), pour a puddle of oil about the size of your hand. I haven’t found that it makes much of a difference whether your hand is closed, open or you cover the entire bottom of the pan in oil (otherwise known in the food television world as "just a little bit").


4. Add the onion and turn on the fire; the onions will tell you when the oil is hot. Cook, stirring occasionally, until the onions are somewhat wilted and translucent.


5. Add the cabbage and cook further, until the cabbage is wilted and there are brown marks on both onions and cabbage. Add a bit of salt here, around a teaspoon or so.


6. If using a slow cooker, now is a good time to transfer all the vegetables to the slow cooker.


7. Add a bay leaf, the cans of tomatoes, and as much water as you like to the soup. I tend to use this water to rinse out the tomato cans, and end up adding between 2 to 3 cans of water to the soup. Season with another teaspoon of salt or two.


8. Cook for at least 30 minutes and up to 10 hours. This recipe is flexible!


9. When the cabbage is soft, salt to taste and add black pepper to taste. Enjoy!


This soup reheats spectacularly and keeps very well. My boyfriend says that it goes particularly well with bread, although I like it best plain.


Rice with Green Tea
Inspired by Just Hungry
Makes enough for 1 or more, depending on quantity

Ingredients
Cooked rice, preferably leftover
Hot water
Green tea bag

Directions

1. Cook the rice, or retrieve last night’s leftover rice that has stuck to the pan.

2. Boil water, add green tea bag.

3. Add tea to rice. Enjoy!

If you must have measurements…. I think I had ¾ cup cooked rice to 1 cup hot water, but honestly, the proportions matter very little. Some people enjoy a lot of tea, some people basically sprinkle their rice with tea.  ¯\_(ツ)_/¯

One more note: you may have guessed; this is an excellent way to clean the pan if the rice stuck to the bottom, simply by pouring the tea on top of the stuck rice. In a few minutes, it will be delicious and the pan will have no rice stuck to it. 

Wednesday, November 16, 2016

Tolerance - Butternut Squash Soup

Some things cannot be changed, no matter how much effort is sunk into them. As a (mostly) vegetarian, fervent lover of fruits and passionate adorer of vegetables, it is with much regret that I announce my dislike of butternut squash soup. Either too sweet or too salty, not enough butternut squash or a bland, sweet puree reminiscent of baby food, butternut squash is a vegetable best left to the dessert world. As a substitute for pumpkin, it's fantastic. The sweet, creamy fruit, roasted and scooped from its helmet-like skin, blends beautifully with spices like cinnamon, nutmeg and vanilla. Covered in salt and whiffing of garlic, though, not so much.

And it's not even easy, or quick. I'm actually massively lazy on a regular basis, or, more likely, perpetually exhausted, thanks to a(n un)healthy karate habit. This recipe requires a blender, the oven, the stove, constant stirring, and the possibility of bright orange soup explosions. In other words, not something I'm down for at 11:30pm after two hours of class, an extra workout, and an hour driving home in unexpected traffic.

Sad to say, it is not this recipe that changes my mind, and I slowly back away from my fruitless (heh) quest to find an agreeable butternut squash soup. As a proud home cook with a massive ego, it rather pains me to admit that even I can't make myself like butternut squash soup. Then, why, might one ask, why on Earth am I sharing a recipe for this one dish that I have never managed to enjoy? A soup that takes up an entire huge box in the fridge and will probably last another week and three friends staying over Friday night? Because, glory hallelujah, my boyfriend likes this soup.

Butternut Squash Soup
Reluctantly developed from various sources, including Simply Recipes and Cookie and Kate

Ingredients

2 lb cubed butternut squash (we bought ours from Costco. A lovely place)
1/2 onion
2 or 3 garlic cloves
1 tbsp olive or other cooking oil
1 tsp salt (season to taste)
4 cups water

Directions

1. Preheat the oven to 400F and line a baking tray, preferably rimmed, with foil.

2. Chop the onion into large chunks. Peel, trim and roughly chop the garlic.

3. Mix the onion, garlic and butternut squash with 1 tbsp of oil and layer on the baking tray. Sprinkle with salt and roast the vegetables for about 60 minutes, stirring them halfway. The vegetables will brown, caramelize a bit, and become what is probably the most delicious stage of this soup.

4. In a blender, food processor or other pureeing device, cream together the vegetables and water into soup, probably in batches.

5. Heat on the stove, stirring gently to prevent bright orange explosions.

6. Season to taste, and serve to those who enjoy butternut squash soup. Enjoy! I hope.


Saturday, September 26, 2015

Quiet Saturdays - Potatoes and Cauliflower Mash

I've heard that weekends alone are sad and well, lonely, but then I wouldn't be able to make dishes like this. Mushy leftover cauliflower turns into tender bits of garlicky contrast in mashed potatoes. The massive California drought (and the cost of air conditioning) encourages a reduction in the amount of water boiled. The combined result is simple, quick and delicious, with enough leftover for tomorrow. Substitute olive oil for butter to make this vegan. Enjoy your weekend!

Cauliflower
Inspired by my mother, who can handle 4 burners at once when making dinner 0.o

Ingredients
1 head cauliflower
1-2 cloves garlic
1-2 tbsp olive/cooking oil
1/2-1 cup water
1 tsp salt (to taste)

Directions
1.  Mince the garlic finely and drop at the bottom of a large saucepan. Add the oil and turn the fire to low, stirring the garlic occasionally.

2. Split and chop the cauliflower into bite-sized pieces. When the garlic turns golden-brown, add the cauliflower pieces and toss to cover with oil.

3. When the cauliflower begins to brown, about 5 minutes later, add enough water to cover the bottom of the pan. Allow to steam until the cauliflower is tender, around 10 minutes. Enjoy it freshly cooked! This recipe works better with leftover cauliflower that's already a bit too soft, and only uses about a third* of the cauliflower anyway.

Potatoes
Inspired by being a cheap grad student...

Ingredients
2 Yukon gold or other potatoes for mashing**
1/2 - 1 cup water
About a third of the leftover cauliflower
1-2 tbsp butter (olive oil works well here, too)
1/2 tsp salt (to taste)
1/2 tsp black pepper (to taste)

Directions
1. Peel and chop the potatoes. Place them into a saucepan, adding just enough water to cover the potatoes. Boil for 15 minutes, or until the potatoes are soft. Poke them with a fork if uncertain.

2. Once the potatoes are done, add your leftover cauliflower and allow to boil again. As you stir, the potatoes will start to break down, essentially mashing themselves. I'm fond of the chunks, but I suppose you can puree them for smooth mashed potatoes.

3. Season with butter/olive oil, salt and pepper. Take a bowlful, sit by yourself, and enjoy quietly. Alternatively, serve and enjoy with family and friends! Either way, it's pretty great :)

* Why a third of the cauliflower? The first third was part of dinner for my roommate and me, the second third was devoured with baby carrots whilst reading webcomics and the third, well, it had become too mushy to eat plain...

** Mine came from the garden. The variety is a guess, at best.

Thursday, October 4, 2012

Thankful Thursday - Barley

I've fallen in love with a new grain, or an old one, I guess.  Typically brewed into beer or fed to cows or horses, it is sometimes malted to mix with milkshakes for an old-fashioned flavor.  I love it best cooked, though, a handful tossed into my soup or boiled to mix into an eggplant dish.  

And speaking of such things... I made soup!  From scratch, simmered for a half hour, vegetarian (of course), even vegan soup, if I felt like olive oil rather than butter that day.  I've made three pots so far, each better than the last, and a joyous eggplant baked thing with barley, inspired by various sources and particularly, Smitten Kitchen.  Hers is much more luxurious, with cheese and pasta instead of my plain barley, but I will humbly submit mine into the running.  

I never took pictures of my soup, mostly because I didn't expect to be blogging again anytime soon.  My research has ramped up exponentially, my homework load doubled and with three midterms expected in the next three weeks, I had vowed earlier this semester to take a break from blogging.  This was mostly influenced by my failure to keep up my Korea blog (which still harbors ambitions to be caught up one day) and even this one.  I had meant to continuously document my meals in Korea, but I became overwhelmed by the sheer number, variety and quality.  

And so my blog becomes, as it really always was, a tiny snapshot into my life at various times when I can spare a moment.  It had dreams of becoming like Kirbie's Cravings or use real butter or even David Lebovitz, although I don't have the discipline to post everyday, nor do I have the writing talent of these amazing people.  Instead, it will simply be, a pure reflection of sometimes confused bits and pieces that I choose to share.  If you are still here, thank you, for coming.  Thank you for coming back, or just being curious and poking into my little corner of the giant, giant web.

Yes, I pack my lunch everyday.  This was an awesome lunch.

Eggplant and Barley heavily adapted from Smitten Kitchen
Makes enough to fill a 9" x 13" pan

Ingredients   
2 lb. eggplant, diced into ¾" cubes
Salt for the eggplants, maybe ½ a tablespoon? 
¾ cup barley 
~¼ cup olive oil (I used a few short pours into the pot) 
½ bunch celery, finely diced
~3 oz. baby carrots or 1 medium carrot, finely diced (I cook with what I've got) 
½ onion, finely diced
3 cloves garlic, finely minced (I'd throw in another one, but then, I adore garlic)
½ cup of canned tomatoes, small dice (seriously, that's what it said on the can)
1 teaspoon salt
1 teaspoon black pepper (but I use the cheap stuff, so use less if you use peppercorns)
½ teaspoon dried oregano
¼ cup fresh basil leaves from your friend's garden (I got so lucky!  Thank you, A!)

Equipment
1 medium (large if you have it) pot for cooking
1 large bowl for holding things
1 small/medium bowl for holding more things
1 cutting board and a knife (well... all I have is a $5 paring knife...)
1 9" x 13" baking pan
1 wooden spoon for cooking/rubber spatula for bowl scraping 
1 teaspoon measure or ordinary spoon for extremely rough guesstimations 
Paper towels (optional, I didn't have any)

Directions

1.  Chop the eggplant, if you haven't already.  Toss it with the salt until completely coated, then let sit for about 30 minutes in the large bowl.  Either chop the rest of your ingredients, or be kidnapped by your sweet boyfriend who takes you out to your favorite frozen yogurt place for a spontaneous, 20-minute date :)  But if that happens, you shouldn't do the next step just yet.  Or you should call your suitemate and have her turn off the fire, so the apartment doesn't burn down.  Anyway.

2.  Rinse the barley once, probably in the other bowl.  In the pot, cook the barley.  I cooked it like pasta, boiling water, tossing it in and letting it simmer for 20 minutes.  Otherwise, you can cook it like rice, adding about 1½ cups of water to the barley and simmering for 20 minutes.  

3.  Meanwhile, chop the celery and carrots and put them in the medium bowl.  Chop the onions and garlic, leaving them on the cutting board.  If you were prepared, and already had all this stuff chopped, hurrah!  You get some free time!  If not, well, join the rest of us...  Once the barley is cooked, turn the fire off and just let it sit.  Drain and rinse the eggplant really well, then plop it all into the 9" x 13" pan to dry for a little while.  Drain or fluff (stir) the barley, and store it all in the large bowl recently vacated by the eggplant.

4.  In the pot, heat it up and pour in a tablespoon or two of olive oil, or all of it, if your pot is large enough to hold all the eggplant in one go.  Mine wasn't, so I cooked the eggplant in batches.  Once the oil is hot and shimmery, toss in the eggplant, or half of it.  Cook for about 8 minutes.  Once all of the eggplant is cooked, scoop it out and keep it in the 9" x 13" for now.  Draining on paper towels is optional, but I didn't have any.

5.  Preheat the oven to 350F.

6.  In the oil that previously cooked the eggplant, cook the carrots and celery for a few minutes, then add the onions and garlic.  Cook the whole thing for about 5 minutes, then add the barley and tomatoes.  In between stirring, shred the basil if you have it.  I rolled it up and cut small slivers, essentially.

7.  You're almost done!  Add the salt, pepper, oregano and basil.  Dump the whole thing into the 9" x 13" pan to join the eggplant and mix it all up until sort of homogenous.  Bake at 350F for about 20 minutes, until all the flavors have a chance to mix.  Enjoy!


Saturday, November 12, 2011

Try New Things - Pumpkin Gnocchi

Recently, I've noticed that I can overdose on sweets.  My mum used to berate me all the time for eating too much sugar, but now I prefer a smaller, high-quality dose instead.  For the past week months, I've basically baked non-stop to the point of actually running out of things like vegetable oil and all-purpose flour.  I'm halfway through my latest 10-lb. bag, and this is my second in three months!  Perhaps that doesn't seem like a lot for more experienced bakers, but I'm also a full-time engineering student involved in 3 clubs and research.  Urk.  This sweets thing is getting out of hand.  It's time for some sustenance food, the kind that can get you through your next 20 research papers without reaching for another slice of pie. 

Healthy vegetables.  Look, a mise en place!  I learned something from Jen of use real butter :)

My last project was a pumpkin bread, which left me with a half a can of Trader Joe's organic pumpkin.  Although I tossed around ideas for another loaf, I happened to be checking some food blogs when Pumpkin Gnocchi from the blog Happyolks came up.  I mentioned this to my boyfriend through Skype, and he positively lit up.  For a moment I felt some apprehension, having eaten gnocchi perhaps twice before in my life.  I had certainly never made it, and my boyfriend is part Italian!  What if it turned out a rock-hard, soggy mess?  But everything involves a risk.  Sometimes the risks are small, sometimes not so small.  This risk, I'm glad I took.

I cooked these as instructed, then served them in a instant (I'm a poor college student, kindly forgive my transgressions) miso-packet broth with stir-fried vegetables and a poached egg.  I think I overkneaded the dough, but I also made the mistake of carrying them down to the kitchen in a bowl.  As a result, all the gnocchi that I had carefully rolled and cut blended back into one amorphous blob and I had to form them again.  This may have worked out to my benefit, as I rather prefer chewy foods and these cooked up perfectly chewy and soft, with a mild pumpkin flavor.  My boyfriend thought they could use more pumpkin flavor, which I considered augmenting with cinnamon.  I lost patience with the gnocchi after forming it the second time and just chucked it into the pot without the scoring, but I think they're much cuter with those grooves.

Pumpkin Gnocchi slightly tweaked from Happyolks
Makes roughly 4 cups of cooked gnocchi

Ingredients:
2 cups all-purpose flour (originally white whole wheat) 
1 cup cooked pureed pumpkin (I used half of a 15-oz. can)
1 egg
¼ teaspoon salt

Any vegetables or soup you'd like to add (I bought my vegetables from the salad section of one of our school's food courts)
2 or 3 eggs

Equipment:
1 large mixing bowl
1 rubber spatula
¼ cup dry measure
¼ teaspoon measure 
Flat surface for rolling out dough
Sharp knife and cutting board (can double as flat surface) for cutting gnocchi
Flour for reducing stickiness of dough
1 fork for scoring the dough (if you are more patient than I)
1 pot for boiling gnocchi

Directions:

1. Mix together the egg, pumpkin and salt until combined.  Add the flour a ½ cup at a time and fold until a soft dough forms, adding more flour if necessary. 

2. Roll out pieces of the dough to form ropes about ½ inch in diameter, then cut to form gnocchi.  If you have the time, press with a fork to form adorable, traditional gnocchi.  Otherwise, just cook as they are.  They look kind of like fried tofu (which make me happy), and are just as delicious in a different way.

3. Bring water in the pot to a rolling boil, then drop in a few gnocchi at a time and stir occasionally.  When the gnocchi float to the surface, remove them from the pot, set aside and replace with more gnocchi.

4. Once all the gnocchi are cooked, rinse out the pot and boil some fresh water or broth.  If you live in an actual house, there's a decent chance you have some homemade or canned soup stock around.  That's perfect.  I live in a dorm and used some instant miso soup packets.

5. Dump the gnocchi back into the soup and cook for a minute, to heat it back up.  Add in any vegetables or meat that your heart desires, and crack in 2 or 3 eggs to poach.  Once the eggs are cooked but the yolks are still runny (personal preference), serve!  Enjoy :)

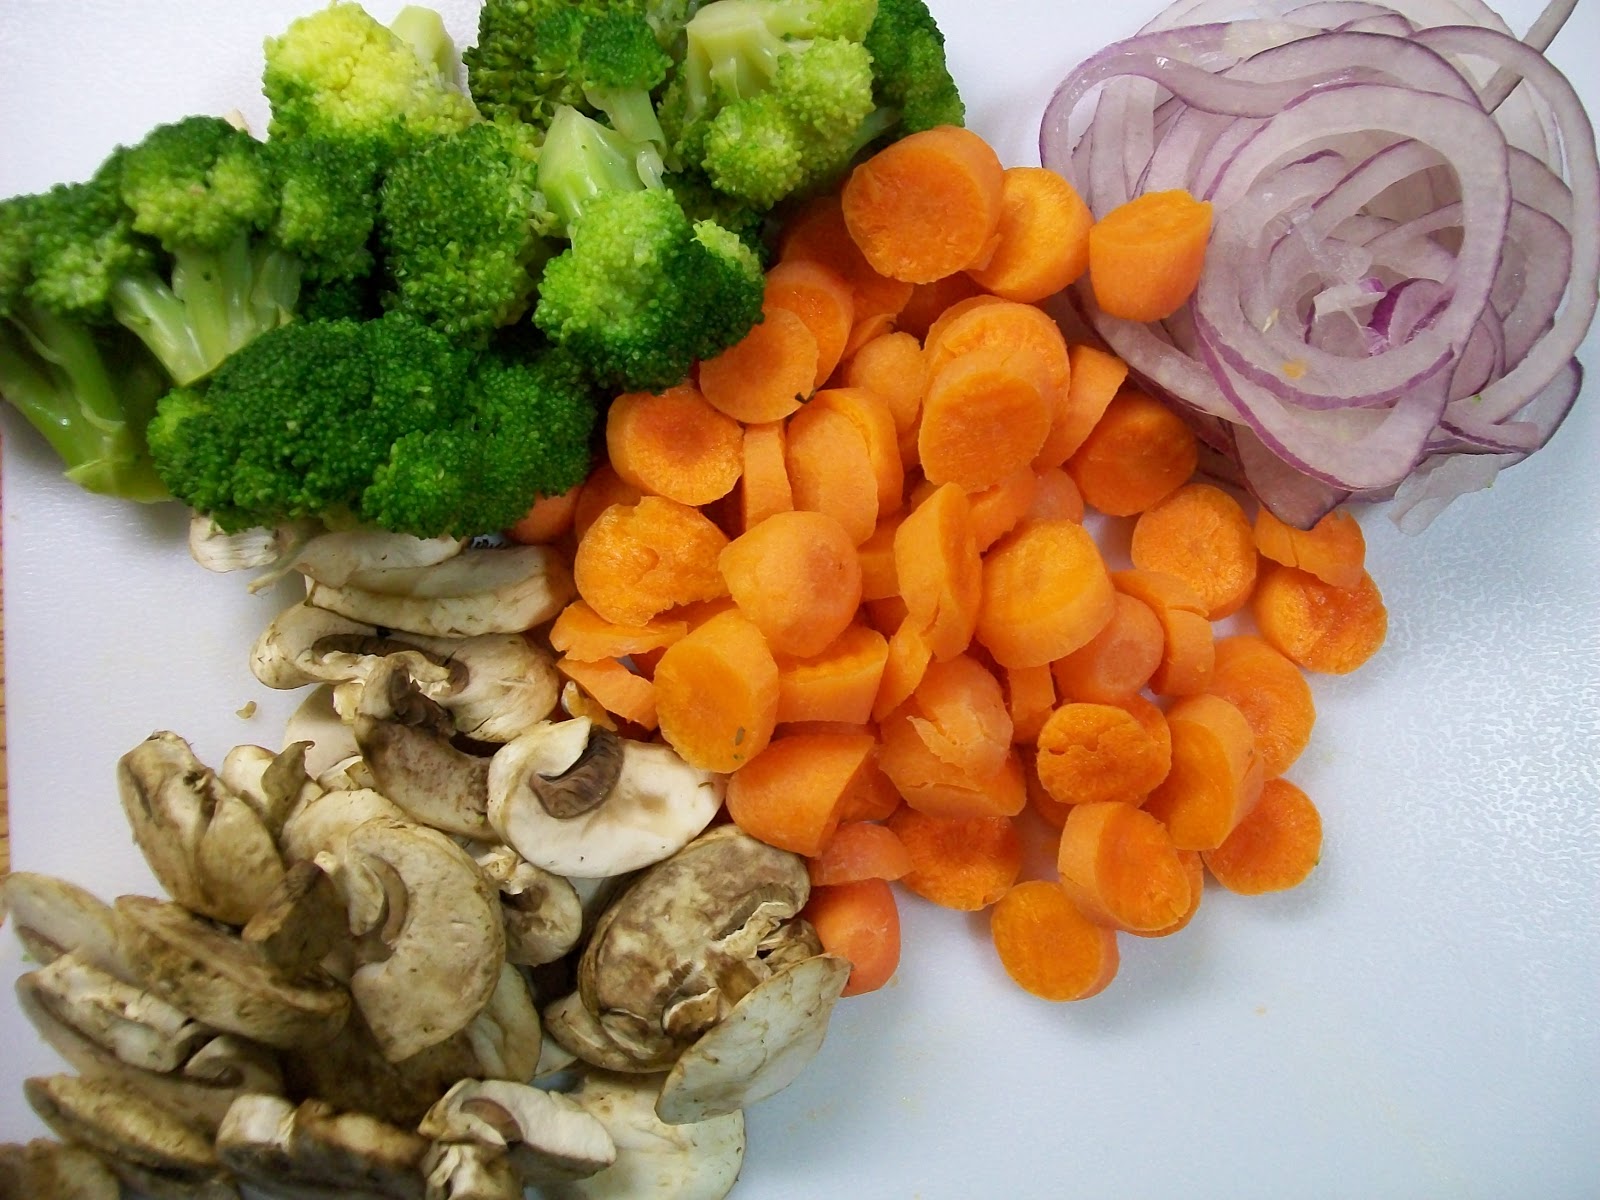
Gnocchi, miso broth, carrots, mushrooms, broccoli, onions, a touch of garlic and an egg.

Sunday, October 30, 2011

Labor of Love - Carrot Cake with Cream Cheese Frosting

For every holiday or any day remotely resembling a holiday, I try to find an excuse to make cake or a special dessert.  Today my boyfriend and I celebrated our second anniversary, which made a tiny cake a good bet.  Also, I love things in miniature, and to be practical, they're more likely to be structurally sound.  Over the summer, his family went to Disney World and he brought back for me a Mickey Mouse sandwich cutter (have you heard of these?  I thought it was for cookies) and an adorable Perry the Platypus plush, from the show Phineas and Ferb.  The cutter was the perfect size for a tiny cake :)

This is about a quarter of the cake that I used, a half of a horizontal layer.

Since he likes carrot cake, I decided to try and make one, with cinnamon cream cheese frosting.  I borrowed a recipe from 17 and Baking, with a couple of changes.  The original cake was called Ginger Carrot cake, but I lacked ginger.  Also, I'm not so sure that boyfriend is fond of ginger.  In any case, he likes cinnamon, so that's what I put in both the cake and the frosting.  I also cut the recipe in half, and not wanting to have an egg left over (the recipe calls for 3 eggs), I skipped the buttermilk and tossed in two eggs.  The resulting cake is soft, sweet and spicy, but doesn't taste a lot like carrots.  Actually, I'm not sure it's supposed to.  I've seen several recipes for carrot cake that call for flaked coconut and crushed pineapple, but I didn't like the idea of competing flavors.  Perhaps typical carrot cake contains more than just carrot?  

Started with this....


One poor carrot reduced to shreds...

The whole pile of carnage, an hour and 2 callouses later.  I don't feel sorry for the carrots anymore.

The assembly of the cake was interesting.  I baked the cake in a loaf pan, which worked out just about perfectly for the Mickey Mouse cutter.  I trimmed the edges of the cake, then cut it in half.  I split the cake into two layers horizontally, then cut out each layer of the cake with the cutter.  I frosted between each layer and frosted to cover the cake.  My boyfriend did say that the cream cheese overpowered the cake, so next time I'd only leave the frosting between the layers for support.  I also increased the amount of cinnamon in the frosting, since it was a little lost in all the cream cheese.  Overall, a yummy, but plain, cake to enjoy :)

Ooh, snacks for later!


Carrot Cake adapted from 17 and Baking, adapted from Martha Stewart Living
Makes 1 9" x 5" loaf or 1 8" or 9" round cake

Ingredients
½ lb. carrots, peeled and grated (I used baby carrots from the school food court.  Sigh.)
2 large eggs (room temperature) 
½ teaspoon vanilla extract
1 cup sugar
¾ cup vegetable oil
1½ cups all-purpose flour
1 tsp baking powder
½ teaspoon baking soda
½ teaspoon salt
1 teaspoon ground cinnamon

Equipment
1 large mixing bowl
1 rubber spatula
½ teaspoon measure
1 teaspoon measure
½ cup dry measure
1 cup dry measure
2-cup liquid measure
1 9" x 5" loaf pan or 8" or 9" round pan
Parchment paper to line pan or butter and flour to grease

Directions

1. Preheat the oven to 300°F.  Butter and flour or line with parchment your baking pan.

2. Mix together the carrots, eggs, vanilla extract, sugar and oil.  Fold in about half the flour, then the baking powder, baking soda, salt and cinnamon.  Fold in the rest of the flour, mixing only until there are no streaks of flour.

3. Pour into your prepared pan, and bake at 300°F for 60 minutes if using a round pan and about 75 minutes if in a loaf pan.  Cake is done when toothpick comes out clean.  It's also interesting to note that when the cake isn't done, there's no resistance when you put in the toothpick.  When it is done, there's a dense sort of texture resisting the entrance of the toothpick.  Yup, been baking consistently for about 4 or 5 years now, and just noticed this :)

Cream Cheese Frosting straight from the flames of It's on Fire
Makes about ½ cup or so (sorry, I didn't measure this)

Ingredients
4 oz. (half a block) cream cheese, room temperature
2 tablespoons salted butter, room temperature (add a tiny pinch of salt if using unsalted)
2 tablespoons sugar
¼ teaspoon vanilla extract
1 teaspoon ground cinnamon

Equipment
1 small mixing bowl
1 wooden spoon
1 rubber spatula
Alternatively, use a stand mixer and a rubber spatula (less arm fatigue for you!)

Directions

Beat together the cream cheese and butter until smooth.  Add the sugar to taste, beating until smooth each time.  Add the vanilla and cinnamon, also to taste.

Assemble and serve.  Enjoy! 

Four tilting layers of delicious cinnamon and cream cheese!  Carrot is shy in this cake.

Share with a loved one <3